Flashing the Firmware
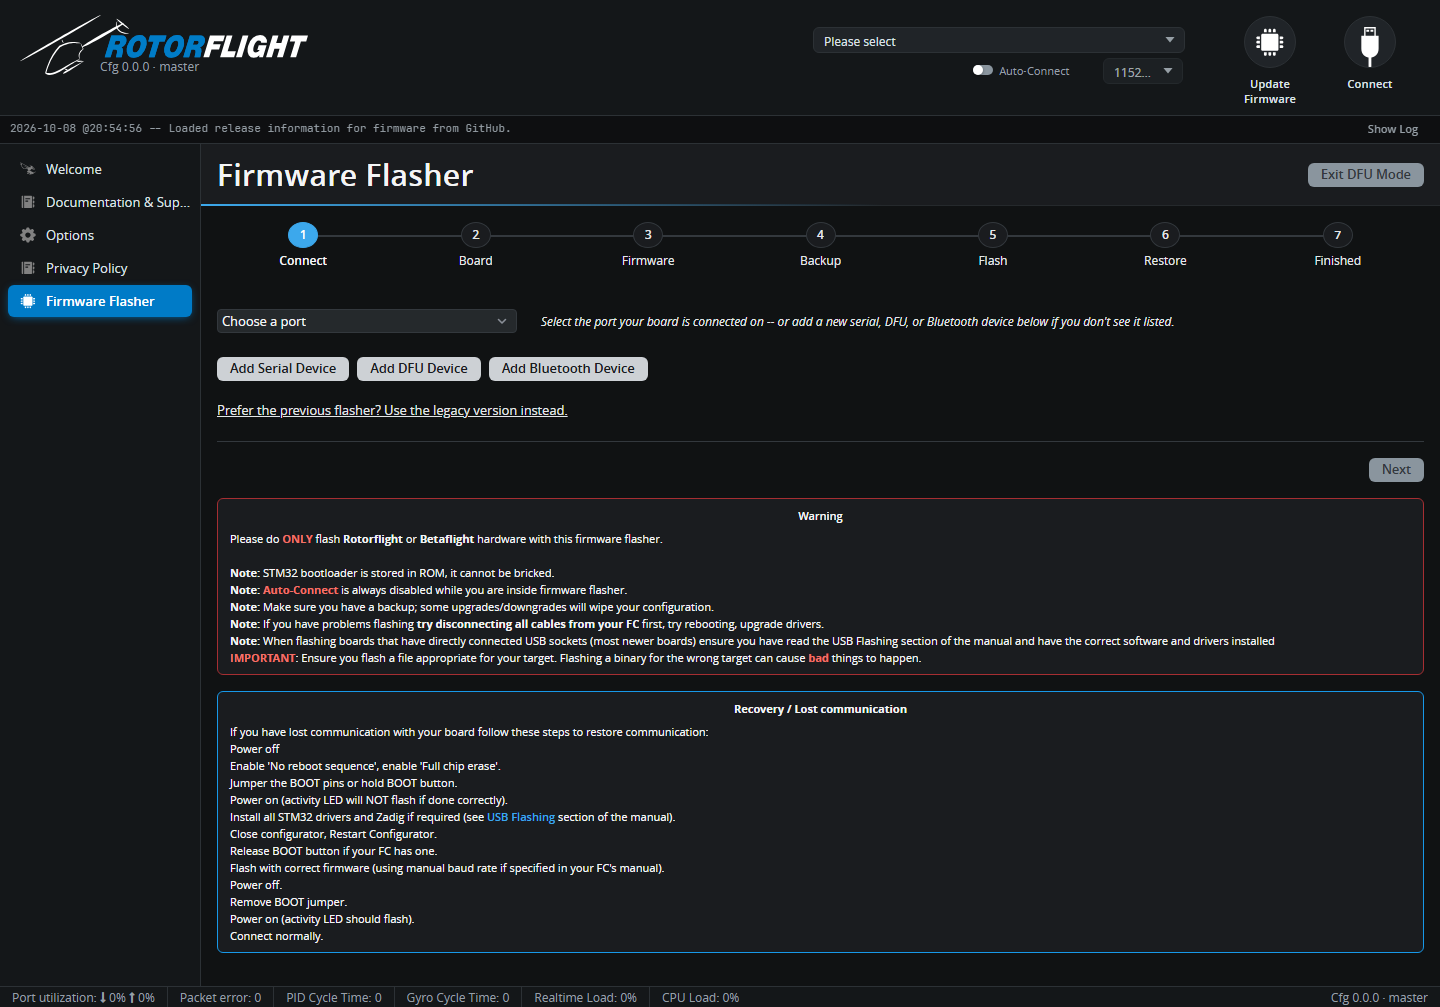
Firmware is flashed from the Configurator's Firmware Flasher, opened with the Update Firmware button at the top right. You can flash with nothing connected, or after connecting to a board that is already running Rotorflight or Betaflight.
How Rotorflight firmware is built
Rotorflight uses unified targets: there is one firmware file per processor family (STM32 F4, F7, G4 and H7), and a small board configuration that tells the firmware which pins drive the servos, motors, UARTs and sensors on your particular board. The Configurator combines the two when it flashes, so you only ever pick your board -- the right firmware comes with it.
The flashing wizard
The wizard has seven steps, shown along the top. Back and Next move between them.
- Connect -- choose the port your board is on. If it isn't listed, use Add Serial Device, Add DFU Device or Add Bluetooth Device. In the browser, these open the browser's device chooser to grant access.
- Board -- Detect My Board reads the board from a connected flight controller. Choose it from the list yourself if detection fails, or if the board is in DFU mode (DFU can't be auto-detected).
- Firmware -- Load Online fetches a build for your board: pick a
release, or enable snapshots to see development builds. Load Local
flashes a
.hexfile (and optional.config) you already have. - Backup -- Back Up Now captures your current settings as a
diff(only changed settings) ordump(every setting). The backup is held by the wizard and offered back to you in the Restore step. Save Backup File... keeps a copy on disk, which is strongly recommended. - Flash -- a summary of board and version. Tick Full chip erase to wipe all settings stored on the board, then start the flash.
- Restore -- once the new firmware boots, Restore Now replays the backup from step 4. Skip leaves the board on defaults.
- Finished -- the update is complete and it's safe to disconnect.
Flash Another Board starts over. The link on the Connect step switches to the older single-page flasher if you prefer it.
Updates can reset your configuration
When a new firmware finds settings it cannot read, it discards them and starts from defaults. Between major versions some settings also change meaning. Always take a backup, and read the Upgrade Notes before restoring an older backup onto a new major version.
When to use Full chip erase
Use it when moving a board from Betaflight to Rotorflight, when moving between major Rotorflight versions, and whenever the Configurator recommends it (for example if the board name stored on the board is wrong). It does no harm if you have a backup to restore.
DFU mode
All supported flight controllers can be flashed through the STM32's built-in DFU (Device Firmware Upgrade) bootloader. The Configurator normally reboots the board into DFU for you. If that fails, enter DFU by hand:
- Unplug the board.
- Hold the BOOT button (or bridge the boot pads) while you plug in USB.
- On the Connect step pick the DFU device, or use Add DFU Device.
- Choose your board manually, load the firmware and flash.
A DFU connection is enough to flash, but board detection, backup and restore need a normal serial connection.
The STM32 bootloader lives in ROM, so a flight controller cannot be "bricked" by a bad flash -- you can always get back to DFU with the BOOT button. Exit DFU Mode at the top right restarts a board that is sitting in DFU.
USB drivers
macOS, Linux, Android and the web Configurator need no extra drivers. On Windows with the desktop app:
- For the normal serial connection, install the STM32 Virtual COM Port driver if the board doesn't show up as a COM port.
- For DFU, the STM32 BOOTLOADER device needs the WinUSB driver. Put the board in DFU, run Zadig, choose Options > List All Devices, select STM32 BOOTLOADER and install WinUSB.
- The ImpulseRC Driver Fixer fixes most driver problems in one step.
Troubleshooting
Stuck at "Initiating reboot to bootloader", or "Rebooting device to bootloader: FAILED". The board didn't come back in DFU, or Windows has no driver for it. Enter DFU by hand (above) and check the DFU driver.
The board no longer connects over USB after flashing. Usually the wrong board was selected, so USB isn't where the firmware expects it. Enter DFU with the BOOT button, enable Full chip erase and flash again with the correct board.
My board isn't in the list. Check the Hardware pages. Betaflight boards that aren't listed can often run Rotorflight with a custom board configuration -- see Betaflight FC (DIY).