First Connection
Once the firmware is flashed, connect from the main Configurator window.
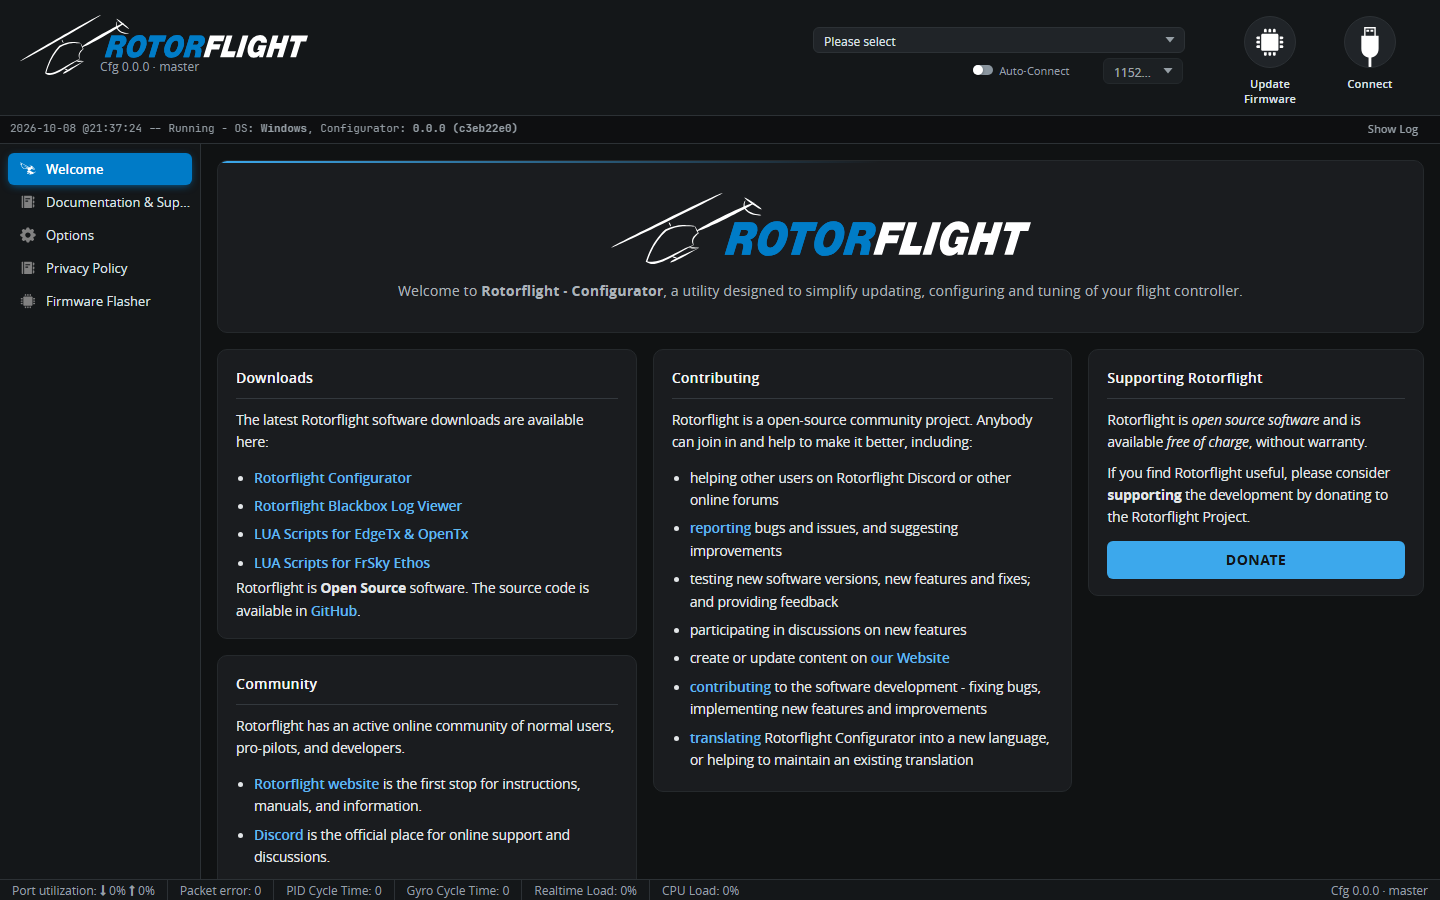
Connecting
- Plug in the flight controller over USB. You don't need a battery for most setup work -- USB powers the board, though not the servos.
- Pick its port in the port picker at the top of the window. In the browser the first connection asks you to grant access to the device.
- Click Connect.
The Configurator opens on the Status tab.
Try it without hardware
The port picker also has a Virtual entry. It connects to a simulated flight controller, so you can look around every tab without a board. Settings saved to the Virtual FC aren't kept.
If the version isn't supported
If the board runs firmware the Configurator doesn't understand -- a much older or newer Rotorflight, or Betaflight -- it shows a warning and opens in CLI mode. You can still take a backup from the CLI, then flash a matching Rotorflight version.
Expert Mode
The Expert Mode switch at the top shows advanced settings and extra tabs that most setups don't need. The screenshots in these docs are taken with it on, so you may see fewer fields until you enable it.
What to check first
- Status tab: the 3D helicopter should move the same way as the flight controller when you tilt and rotate it. If it doesn't, set the board orientation on the Configuration tab.
- Sensor indicators at the top: Gyro and Accel should be lit.
- Arming Disable Flags on the Status tab:
MSPis always set while the Configurator is connected. The others tell you what still needs setting up -- see Arming & Safety.
Then carry on with the Setup Guides.